
How to Create and Manage Labels
Labels help you classify and organise Devices using Values such as locations, departments, zones or screen types. Once created, Labels can be used throughout Engage CMS to simplify Device management, filtering and targeting.
For example, a Label called Zone could contain Values such as Entrance, Aisle, Cashier and Exit. Devices can then be assigned to the appropriate Value based on their location.
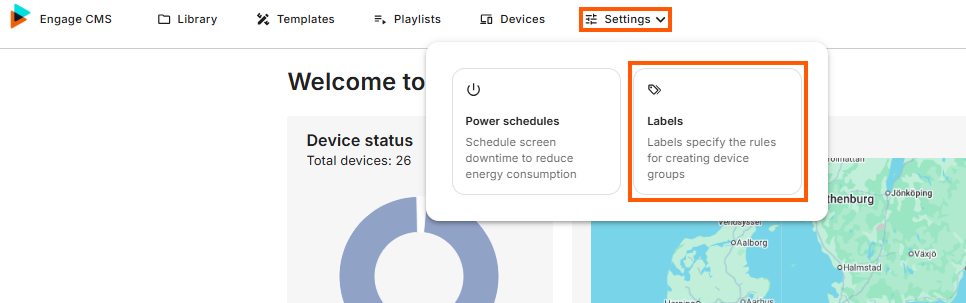
Open Labels
- Open Settings.
- Select Labels.
The Label Management page displays all existing Labels.
For each Label, you can view:
- Name
- Description
- Number of Values
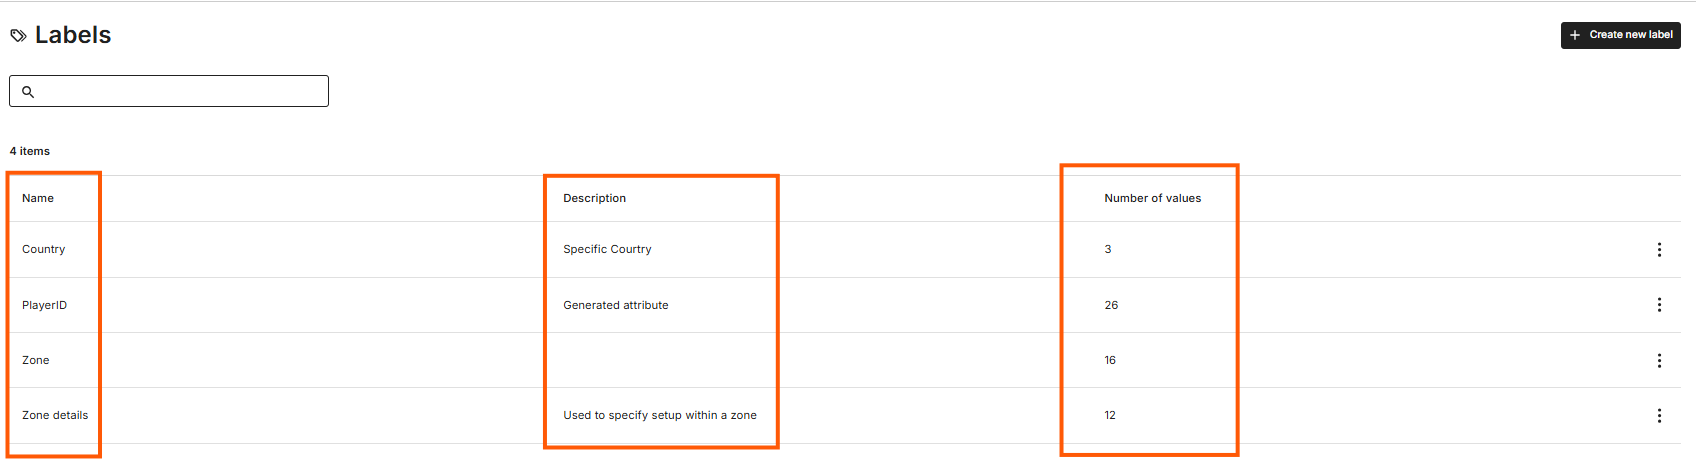
Use the search field to quickly find a Label by name.
View Label Details
Select a Label to open its details in the split view.
The split view displays:
- Label name
- Description
- All Values
- Number of Devices assigned to each Value
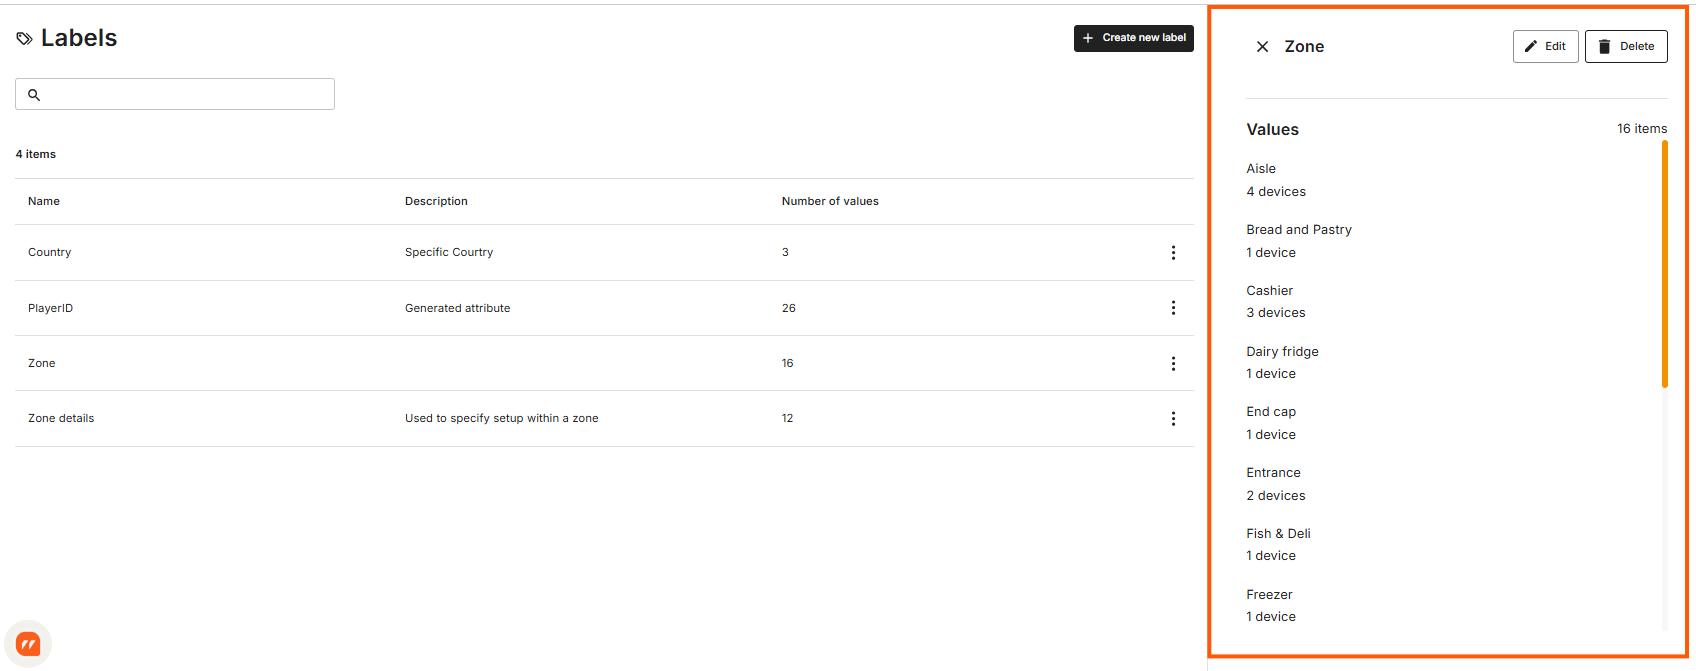
From here, you can edit the Label, manage its Values or view Device assignments.
Create a Label
- Select Create Label.
- Enter a Label name.
- Add an optional description.
- Add one or more Values.
- Optionally assign Devices to each Value.
- Save the Label.
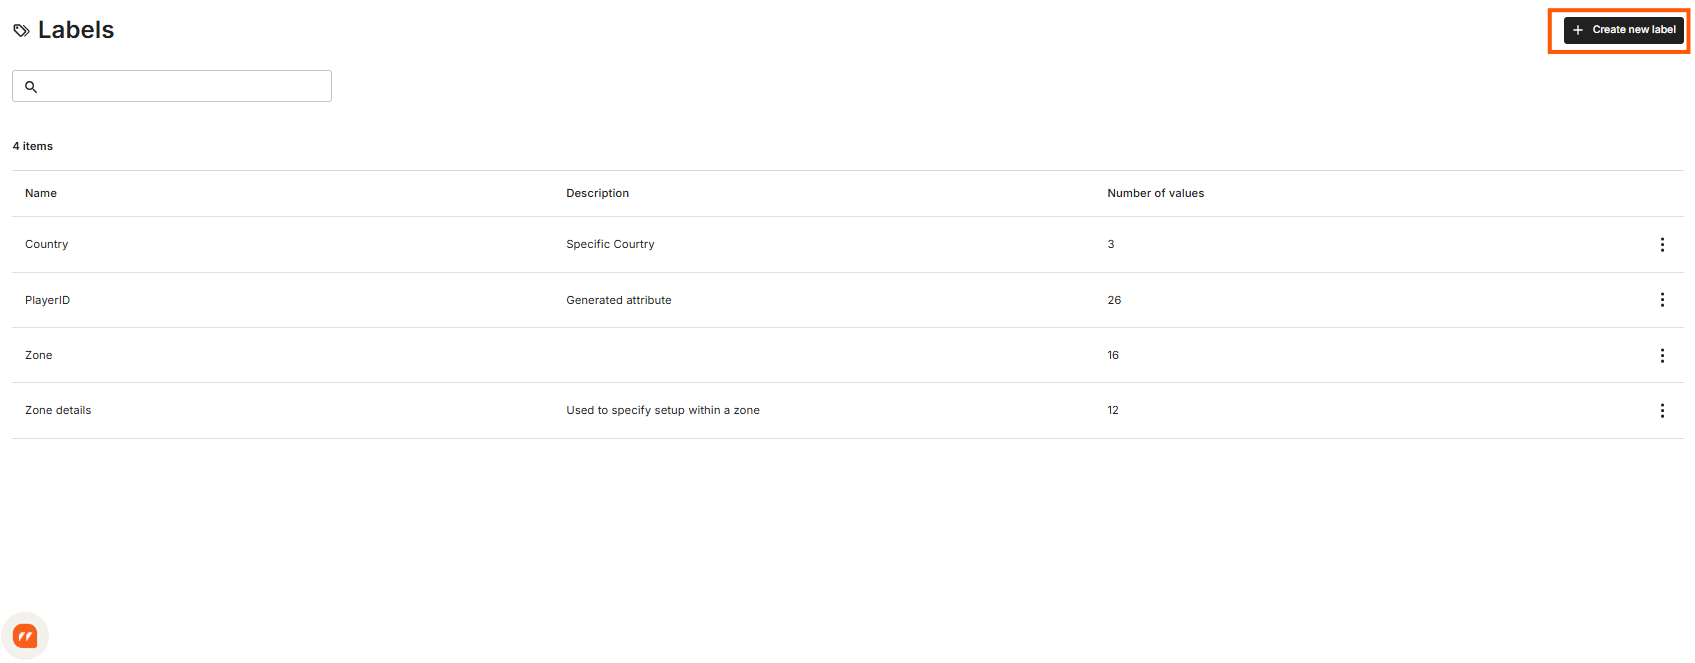
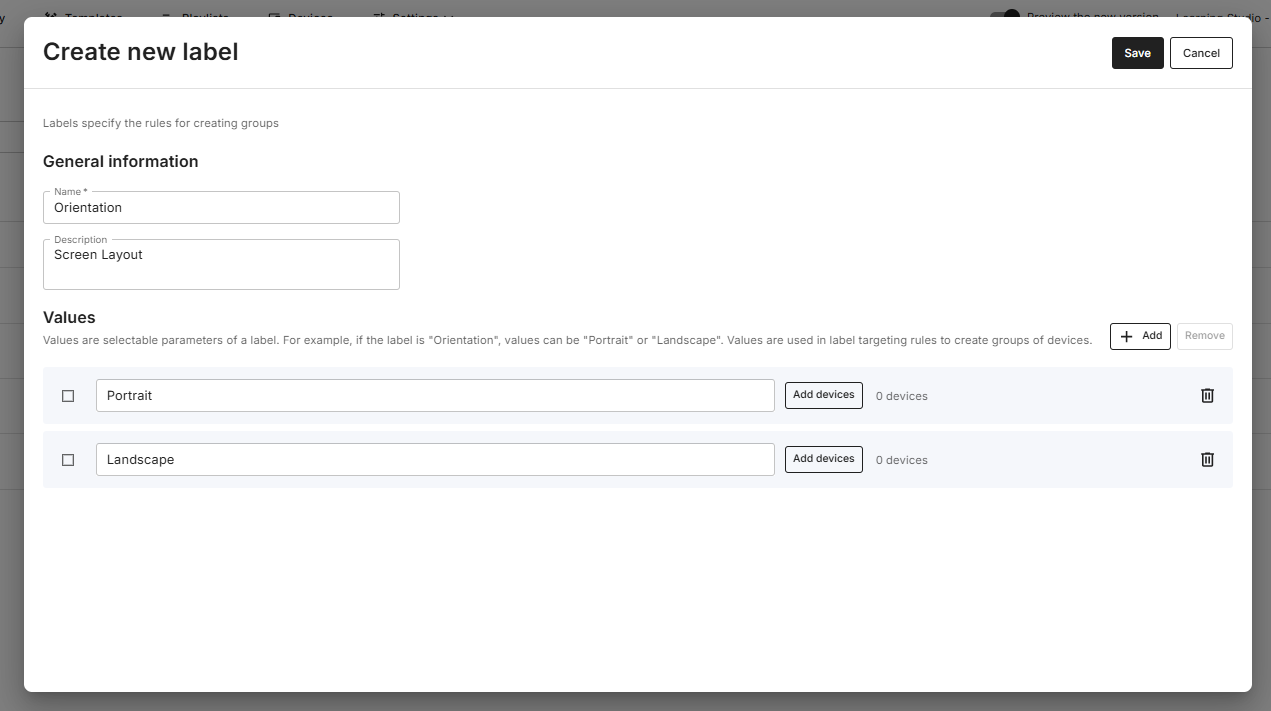
The new Label and its Values become available immediately.
Label and Value example
Think of a Label as a category and its Values as the available options within that category.
For example:
Label: Zone
Values:
- Entrance
- Aisle
- Cashier
- Exit
Keep Label names broad and reusable, and use Values for the more specific information.
Assign Devices to Values
Existing assignments are displayed so you can see which Devices are already assigned to the selected Value.
A Device can use multiple Labels, but only one value for each lable. Allowing it to be classified in several ways.
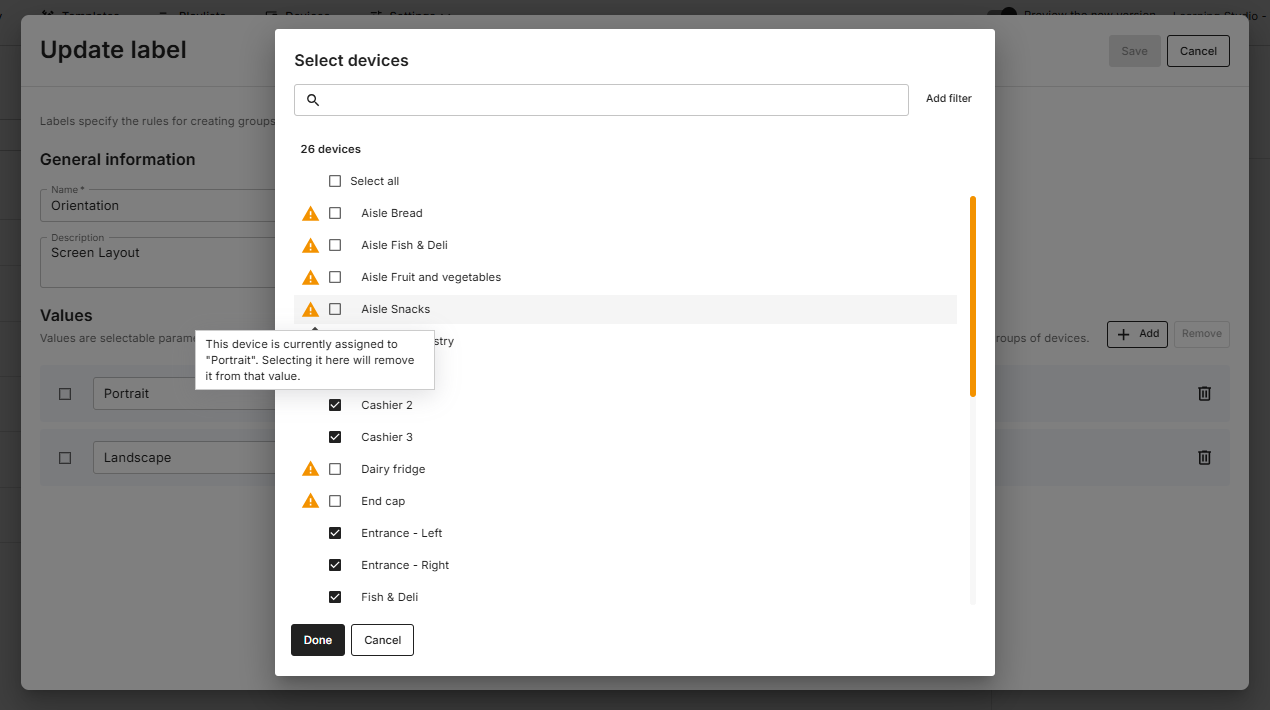
For example, the same Device could have:
Zone: Entrance
Department: Electronics
Screen Type: Promotional
This makes it easier to organise, find and target Devices across your digital signage network.
Delete a Label
To remove a Label:
- Open the three-dot menu for the Label.
- Select Delete.
- Review the confirmation.
- Confirm the deletion.
Deleting a Label permanently removes the Label and its associated Values.
Devices using those Values will no longer have the Label assigned.
Make sure the Label is no longer needed before deleting it.
Tips for Managing Labels
- Keep Label names broad and reusable.
- Use Values for specific information.
- Use consistent naming across your organisation.
- Assign Devices while creating Values when possible to save time.
- Review unused Values periodically to keep your Labels organised.
- Use multiple Labels when Devices need to be classified in different ways.
Common Questions
What is the difference between a Label and a Value?
A Label is a category used to classify Devices.
A Value is one of the available options within that category.
For example:
Label: Store
Values: London, Manchester, Edinburgh
Can I assign Devices while creating a Label?
Yes. Devices can be assigned directly to individual Values during the Label creation process.
You can also manage these assignments later.
Can a Device have more than one Label?
Yes. A Device can have multiple Labels, allowing you to classify it using different types of information such as location, department or screen type.
Can I edit Values later?
Yes. You can add, rename or remove Values after the Label has been created.
How do I know which Devices use a Value?
Each Value displays the number of assigned Devices. Open the Device assignment for the Value to view or change the assigned Devices.
What happens if I delete a Label?
The Label and its associated Values are permanently removed.
Devices that previously used those Values will no longer have that Label assigned.